

소개
OpenCtrlC를 시작해 보세요.
OpenCtrlC는 오픈 소스 AI coding agent입니다. 터미널 기반 인터페이스, 데스크톱 앱, IDE 확장으로 사용할 수 있습니다.
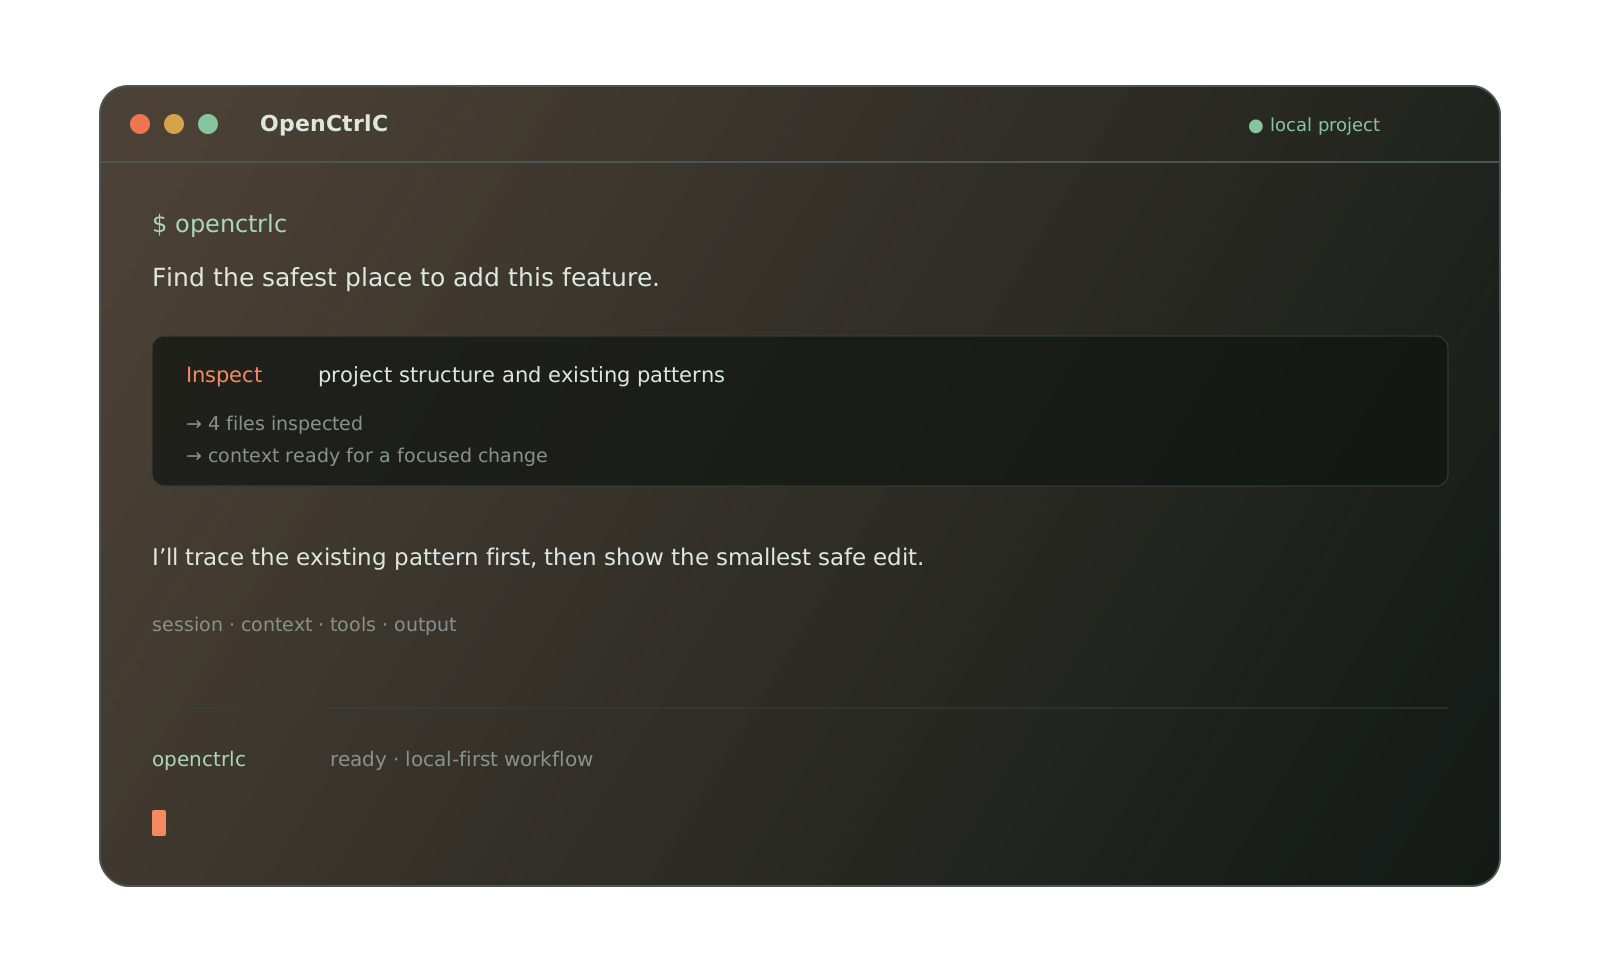
바로 시작해 보겠습니다.
사전 준비
터미널에서 OpenCtrlC를 사용하려면 다음이 필요합니다.
-
다음과 같은 최신 터미널 에뮬레이터
-
사용할 LLM 제공자의 API 키
설치
The installer script detects the current operating system and CPU architecture.
curl -fsSL https://raw.githubusercontent.com/ponponon/openctrlc/dev/install | bashNode.js와 npm이 설치되어 있다면 npm으로 CLI를 전역 설치할 수도 있습니다.
npm install -g openctrlc이전 npm 패키지 이름에서 마이그레이션하려면 먼저 npm uninstall -g openctrlc-ai를 실행하세요.
macOS와 Linux에서는 OpenCtrlC Homebrew tap으로도 설치할 수 있습니다.
brew install ponponon/tap/openctrlcFor platform-specific packages, use the OpenCtrlC download page or GitHub Releases. Stable downloads use the project’s Cloudflare R2 mirror when available and automatically fall back to GitHub.
구성
OpenCtrlC is a client application. Configure an LLM provider that you control; OpenCtrlC does not provide a hosted model service.
-
Run
/connectin the TUI and select a supported provider. See Providers./connect -
Follow the provider’s setup guide and paste its API key when prompted.
초기화
이제 제공자 구성을 마쳤으니 작업하려는 프로젝트로 이동합니다.
cd /path/to/project그리고 OpenCtrlC를 실행합니다.
openctrlc다음 명령을 실행해 프로젝트에서 OpenCtrlC를 초기화합니다.
/init이 명령을 실행하면 OpenCtrlC가 프로젝트를 분석하고 프로젝트 루트에 AGENTS.md 파일을 생성합니다.
이렇게 하면 OpenCtrlC가 프로젝트 구조와 사용 중인 코딩 패턴을 더 잘 이해할 수 있습니다.
사용법
이제 OpenCtrlC로 프로젝트 작업을 시작할 준비가 되었습니다. 무엇이든 물어보세요.
AI coding agent를 처음 사용한다면 도움이 될 수 있는 예시를 소개합니다.
질문하기
OpenCtrlC에 코드베이스 설명을 요청할 수 있습니다.
How is authentication handled in @src/api/index.ts이 방법은 직접 작업하지 않은 코드 영역을 이해할 때 유용합니다.
기능 추가
OpenCtrlC에 프로젝트의 새 기능 추가를 요청할 수 있습니다. 다만 먼저 계획을 만들도록 요청하는 것을 권장합니다.
-
계획 만들기
OpenCtrlC에는 변경 작업 기능을 비활성화하고 기능을 구현할 방법만 제안하는 Plan mode가 있습니다.
Tab 키를 눌러 전환하세요. 화면 오른쪽 아래에서 모드 표시를 확인할 수 있습니다.
<TAB>이제 수행하길 원하는 작업을 설명해 보겠습니다.
When a user deletes a note, we'd like to flag it as deleted in the database.Then create a screen that shows all the recently deleted notes.From this screen, the user can undelete a note or permanently delete it.OpenCtrlC가 원하는 작업을 이해할 수 있도록 충분한 세부 정보를 제공해야 합니다. 팀의 주니어 개발자에게 말하듯이 설명하면 도움이 됩니다.
-
계획 다듬기
계획이 나오면 피드백을 주거나 세부 사항을 더 추가할 수 있습니다.
We'd like to design this new screen using a design I've used before.[Image #1] Take a look at this image and use it as a reference.OpenCtrlC는 제공한 이미지를 스캔해 prompt에 추가할 수 있습니다. 이미지를 터미널에 드래그 앤 드롭하면 됩니다.
-
기능 구현
계획이 충분히 마음에 들면 Tab 키를 다시 눌러 Build mode로 전환하세요.
<TAB>그리고 변경을 적용해 달라고 요청하세요.
Sounds good! Go ahead and make the changes.
바로 변경하기
비교적 간단한 변경은 계획을 먼저 검토하지 않고 바로 구현하도록 요청할 수 있습니다.
We need to add authentication to the /settings route. Take a look at how this ishandled in the /notes route in @src/notes.ts and implementthe same logic in @src/settings.tsOpenCtrlC가 올바른 변경을 하도록 충분한 세부 정보를 제공해야 합니다.
변경 되돌리기
예를 들어 OpenCtrlC에 변경을 요청했다고 해보겠습니다.
Can you refactor the function in @src/api/index.ts?그런데 원하는 결과가 아니었다면 /undo 명령으로 변경을 되돌릴 수 있습니다.
/undoOpenCtrlC가 방금 적용한 변경을 되돌리고 원래 메시지를 다시 보여줍니다.
Can you refactor the function in @src/api/index.ts?여기에서 prompt를 수정해 다시 요청할 수 있습니다.
또는 /redo 명령으로 변경을 다시 적용할 수 있습니다.
/redo공유
OpenCtrlC와의 대화는 팀과 공유할 수 있습니다.
/share이 명령을 실행하면 현재 대화 링크를 생성하고 클립보드에 복사합니다.
다음은 OpenCtrlC 대화 예시입니다.
사용자 지정
이제 OpenCtrlC 사용법을 익혔습니다.
원하는 방식에 맞추려면 테마 선택, 키바인드 사용자 지정, 코드 formatter 설정, custom command 만들기, OpenCtrlC config 설정을 권장합니다.